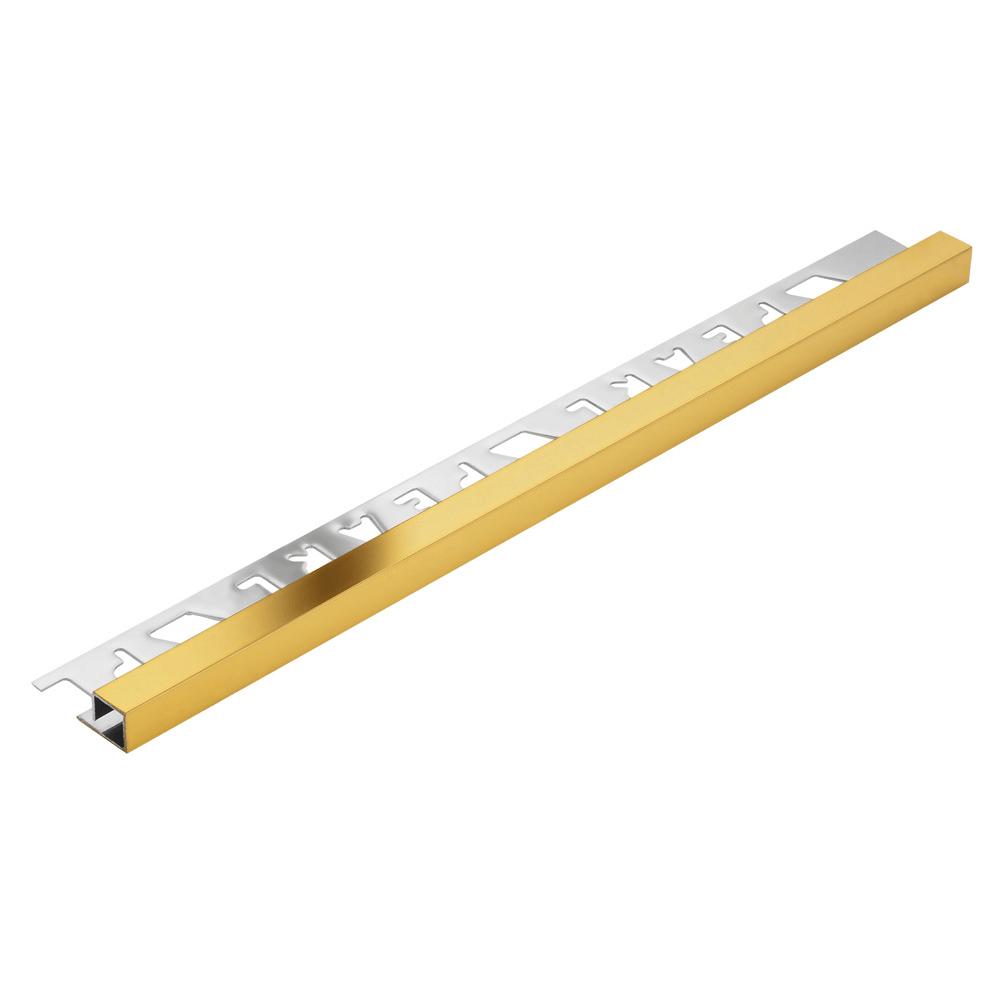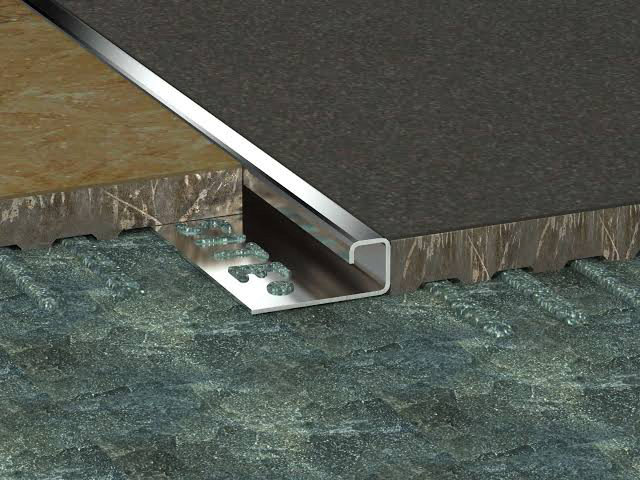
Tile trim is essential for making tiling work more beautiful and functional. Whether you are tiling floors, walls, or building kitchen and bathroom countertops, trim is an indispensable element. Trim comes in many varieties depending on the application, so what should you know about tile trim? Let's find the answers together in this article. If you are looking for trim to decorate your home, read on to understand the installation methods and maintenance tips that will extend the lifespan of your trim and help you choose the right options to match your decoration needs and budget for a stylish home.
What Is Tile Trim?
Many people may wonder what tile trim actually is. Today we have the answer for you. Tile trim is a material made from plastic used to cover tile edges and corners, helping to create a clean, polished finish in tiling work. We use tile trim to cover the corners where tile edges meet, as those areas are prone to chipping and breakage. Tile trim is highly versatile — it can be used on floor edges, wall tiles, and even on kitchen and bathroom countertops. You can also use trim to enhance the beauty of furniture. When choosing tile trim, it is important to select tiles that are slightly thinner than the trim — approximately 22 millimeters — to ensure a proper, seamless fit.
Common Applications
We commonly use tile trim to cover tile corners and edges, enhancing the beauty of tiling work in homes or buildings. Nowadays, trim made from plastic and aluminum is frequently seen. The choice of trim depends on the user's needs, and price is also a key factor in the decision, as trim made from different materials varies in cost. For example, aluminum tile trim tends to be more expensive than plastic trim.
Installing Tile Trim
When installing tile trim, you must consider the size and thickness of the tiles. If the trim is thinner than the tiles, the tile edges will protrude above the trim and sit unevenly. Moreover, it will not provide adequate protection against impact or chipping. Conversely, if the trim is thicker than the tiles, it will protrude and create a tripping hazard while looking unsightly. To install tile trim, first mix tile adhesive cement, then use a notched trowel to spread the adhesive onto the desired area. Use the notched side to create grooves. Next, place the tile trim on the desired position — such as the tile edge or corner junction — and press down so the adhesive rises through the holes in the trim. Then lay the tiles flush against the trim and use a rubber mallet to level them with the trim edge. Continue laying tiles until the entire trim section is complete.

How to Maintain Tile Trim for Long-Lasting Use
We will separate the maintenance methods for aluminum and stainless steel tile trim, as they require more care than plastic trim due to potential lime scale buildup. For aluminum trim, prepare a diluted dishwashing liquid solution, dampen a clean cloth, and wipe along the lime scale deposits, rubbing gently until the stains gradually fade. Then wipe with a clean, water-dampened cloth, wrung dry, and follow up with a dry cloth. After cleaning, apply a few drops of color sealant onto a cloth and wipe the aluminum surface again to restore its shine. For stainless steel tile trim with a brushed or matte finish, use 1000-grit urethane sandpaper, dampened with water, to gently scrub the stained area in one direction along the grain, then wipe dry. For mirror-finish stainless steel, use a polishing wheel with a 4-inch denim buffing pad to gradually buff the stained area until it fades, then apply color sealant on a cloth and wipe the stainless steel again for a glossy finish.
However, when choosing tile trim for your home or building, you must select trim that suits the specific environment where it will be installed. It is essential to use high-quality materials, as they will be in use for a long period. Using substandard or unsuitable materials will shorten the lifespan, and repairs will cost more time and money than investing in certified, quality materials from the start.